November 2, 2026
In today's housing market, a professional roofing installation is more than just an essential routine component of property maintenance; it is a foundational investment that directly dictates the structural longevity, weather resilience, and overall market value of a residence. A roof shields living spaces from destructive weather cycles, preserves energy efficiency across changing seasons, and establishes an attractive aesthetic exterior for the entire building. Consequently, understanding each sequential phase of an expert roofing installation provides homeowners with the essential clarity required to navigate large capital renovations with confidence. Having comprehensive insight into project logistics empowers property owners to articulate expectations clearly, collaborate productively with building professionals, and verify that their property receives the rigorous technical care necessary to withstand decades of harsh environmental exposure.
Navigating a comprehensive exterior build requires clear foresight into how modern contractors mobilize equipment, handle fragile decking, and apply sophisticated protective barriers across the roof surface. Reliable contractors operate under organized protocols designed to minimize residential disruptions while preventing unforeseen budget escalations during construction. According to RubyHome, an average roof lasts between 20 and 50 years depending on the type of roof and material quality. Reaching the upper end of that performance lifespan requires an uncompromising commitment to structural standards from the initial decking inspection to the final physical cleanup. By reviewing every operational stage of a professional roofing installation, homeowners can approach their upcoming project with total certainty and complete peace of mind.
Planning and Preparing the Installation Workspace
Every successful residential project begins with an exhaustive preliminary consultation and an accurate physical assessment of the existing architectural plane. During this diagnostic phase, certified specialists climb onto the structure to measure slopes, evaluate pitch angles, and inspect vulnerable valleys, flashing details, and roof penetrations. Homeowners actively participate by discussing performance expectations, neighborhood design restrictions, and material preferences ranging from dimensional asphalt shingles and architectural slate to durable standing-seam metal profiles. Simultaneously, project planners draft a detailed operational schedule that accounts for logistical material deliveries, regional weather forecasts, and potential permitting timelines, giving the homeowner an accurate projection of the entire roofing installation.
Once administrative parameters and material deliveries are scheduled, the project manager pivots toward implementing comprehensive ground-level protection across the perimeter of the property. Seasoned crews treat landscaping, exterior masonry, siding, and double-pane glass windows as vulnerable assets, covering foundation shrubs with heavy-duty breathable tarps and setting up angled plywood boards along sensitive walls. Furthermore, homeowners are advised to park private vehicles away from access driveways to make space for motorized debris bins and hydraulic trailers. Prior to starting tear-off operations, the job superintendent conducts a site briefing with the resident, reviewing communication protocols and on-site hazard management to guarantee complete organizational alignment before work begins.
Stripping Away the Old Roofing Layers
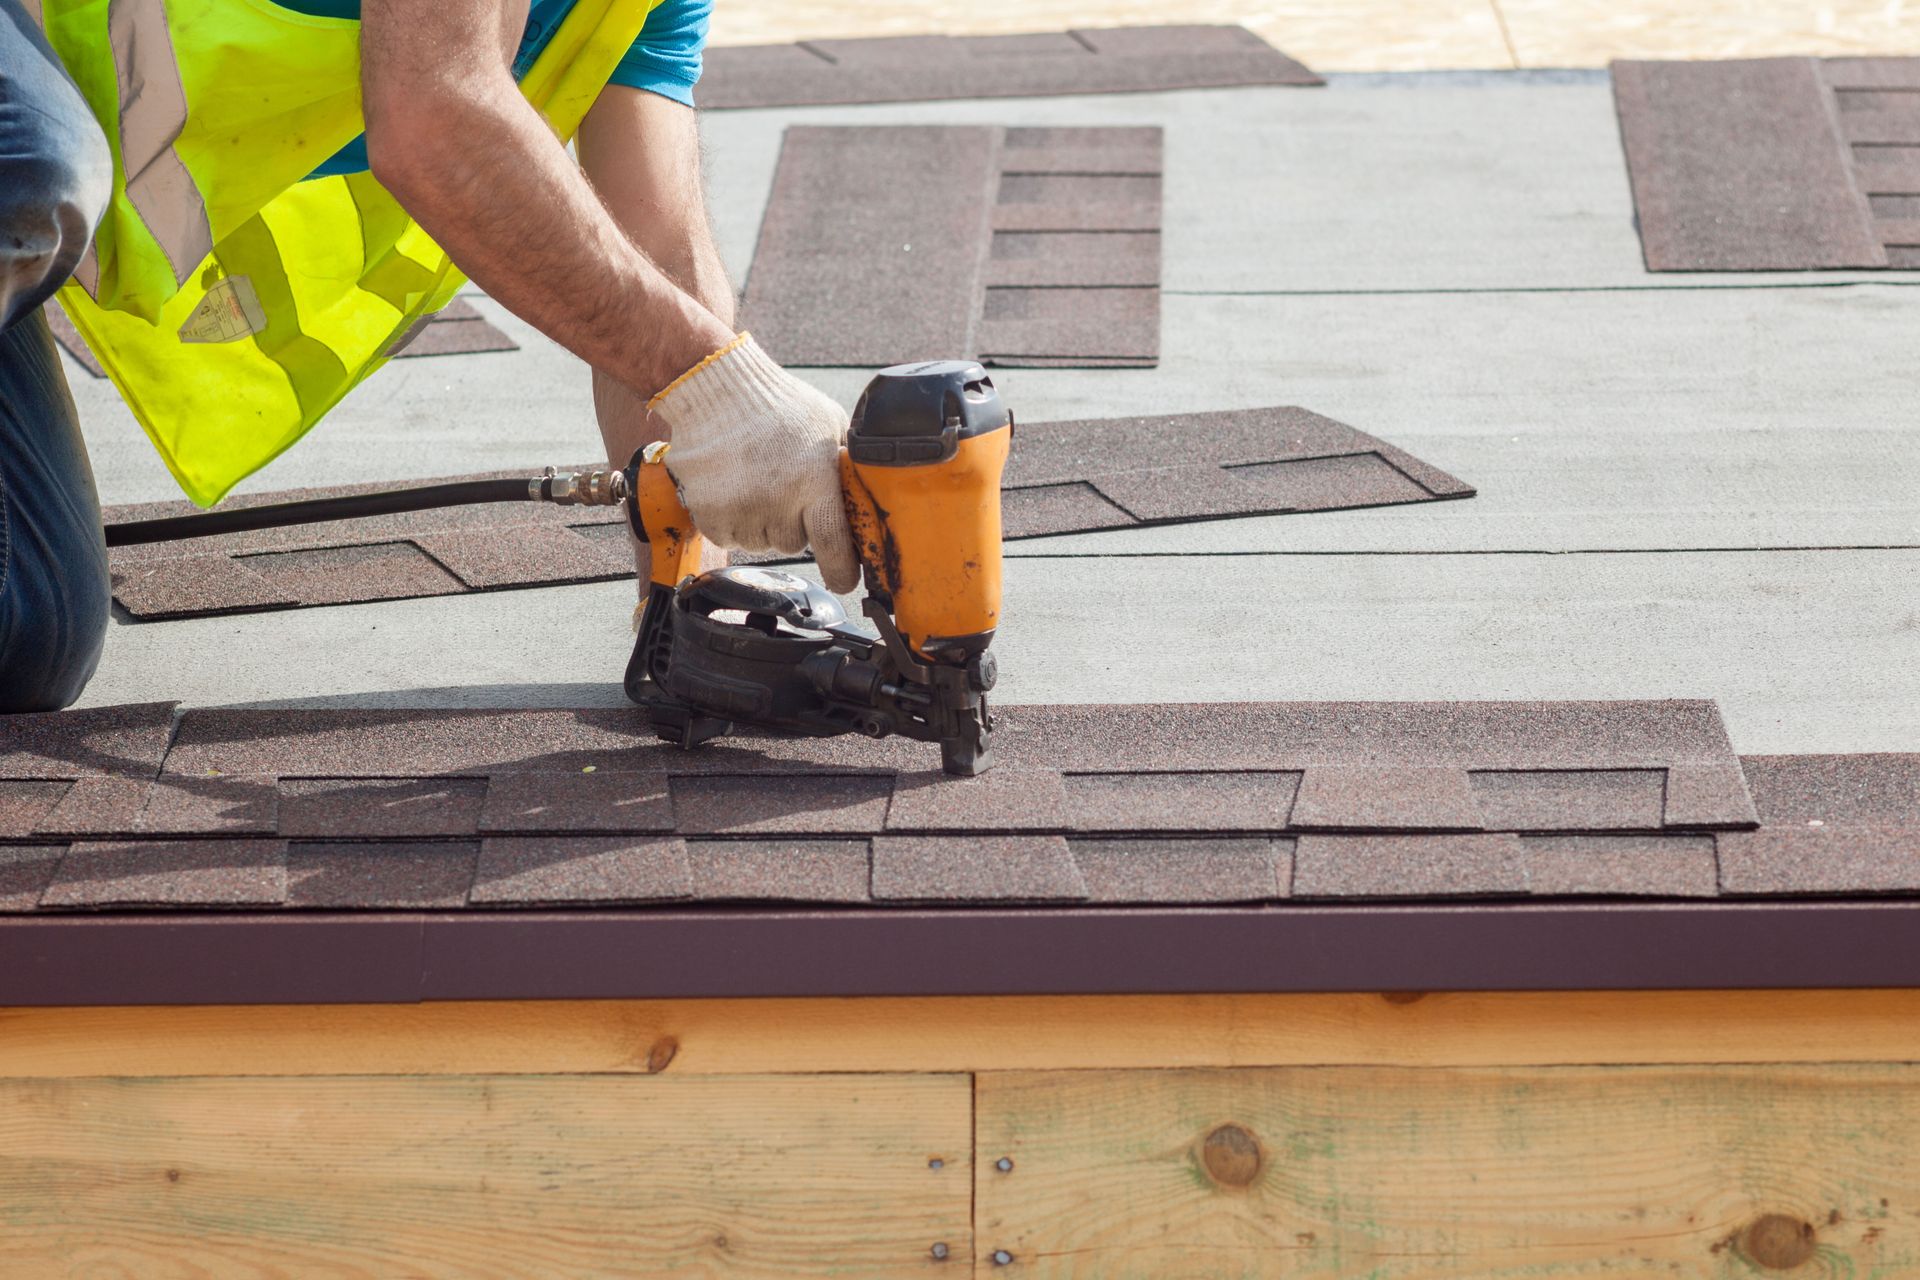
Removing worn existing materials represents a hazardous stage that demands rigid safety protocols and organized debris management. Fully equipped crews mount the deck wearing personal fall arrest systems, secure anchor points, and specialized slip-resistant footwear to execute a clean, rapid strip-down of existing shingles. Workers use specialized heavy-duty roof shovels and serrated tear-off bars to strip away decayed shingles, tar paper, and fasteners down to the bare wooden substrate. An efficient tear-off cadence ensures that all discarded composite materials fall directly into protected collection zones or designated mobile dumpsters, eliminating dangerous stray debris across pedestrian pathways and surrounding flower beds.
Once the primary coverings are cleared, carpenters conduct an exhaustive diagnostic inspection across every exposed plywood or oriented strand board decking panel. Decades of micro-leaks, condensation buildup, or damaged ventilation ducts often conceal decayed rafters or spongy structural decking beneath seemingly normal shingle courses. Crew leaders quickly identify dry rot, water staining, or compromised sub-sheathing panels, marking deteriorated boards for prompt removal. Addressing these structural flaws during the initial stages of a roofing installation ensures the structure possesses a sturdy foundation before subsequent layers are applied, preventing dangerous shingle sagging and guaranteeing that the new build will withstand extreme wind pressures over its entire operational lifespan.
Securing the Secondary Underlayment Shield
The next critical phase requires the systematic roll-out of advanced waterproofing membranes and secondary weather-barrier underlayments across the roof decking. Modern roofing standards call for specialized self-adhering ice-and-water shields placed strategically along vulnerable roof eaves, valleys, sidewalls, and chimney bases to block capillary water migration. In northern climates or storm-prone zones, this durable, rubberized barrier adheres directly to the bare wood, creating a watertight seal around nail punctures. Over the remaining open field of the decking, technicians install high-performance synthetic underlayment, which delivers significantly greater tear resistance and moisture protection than traditional organic felt paper during unpredictable downpours.
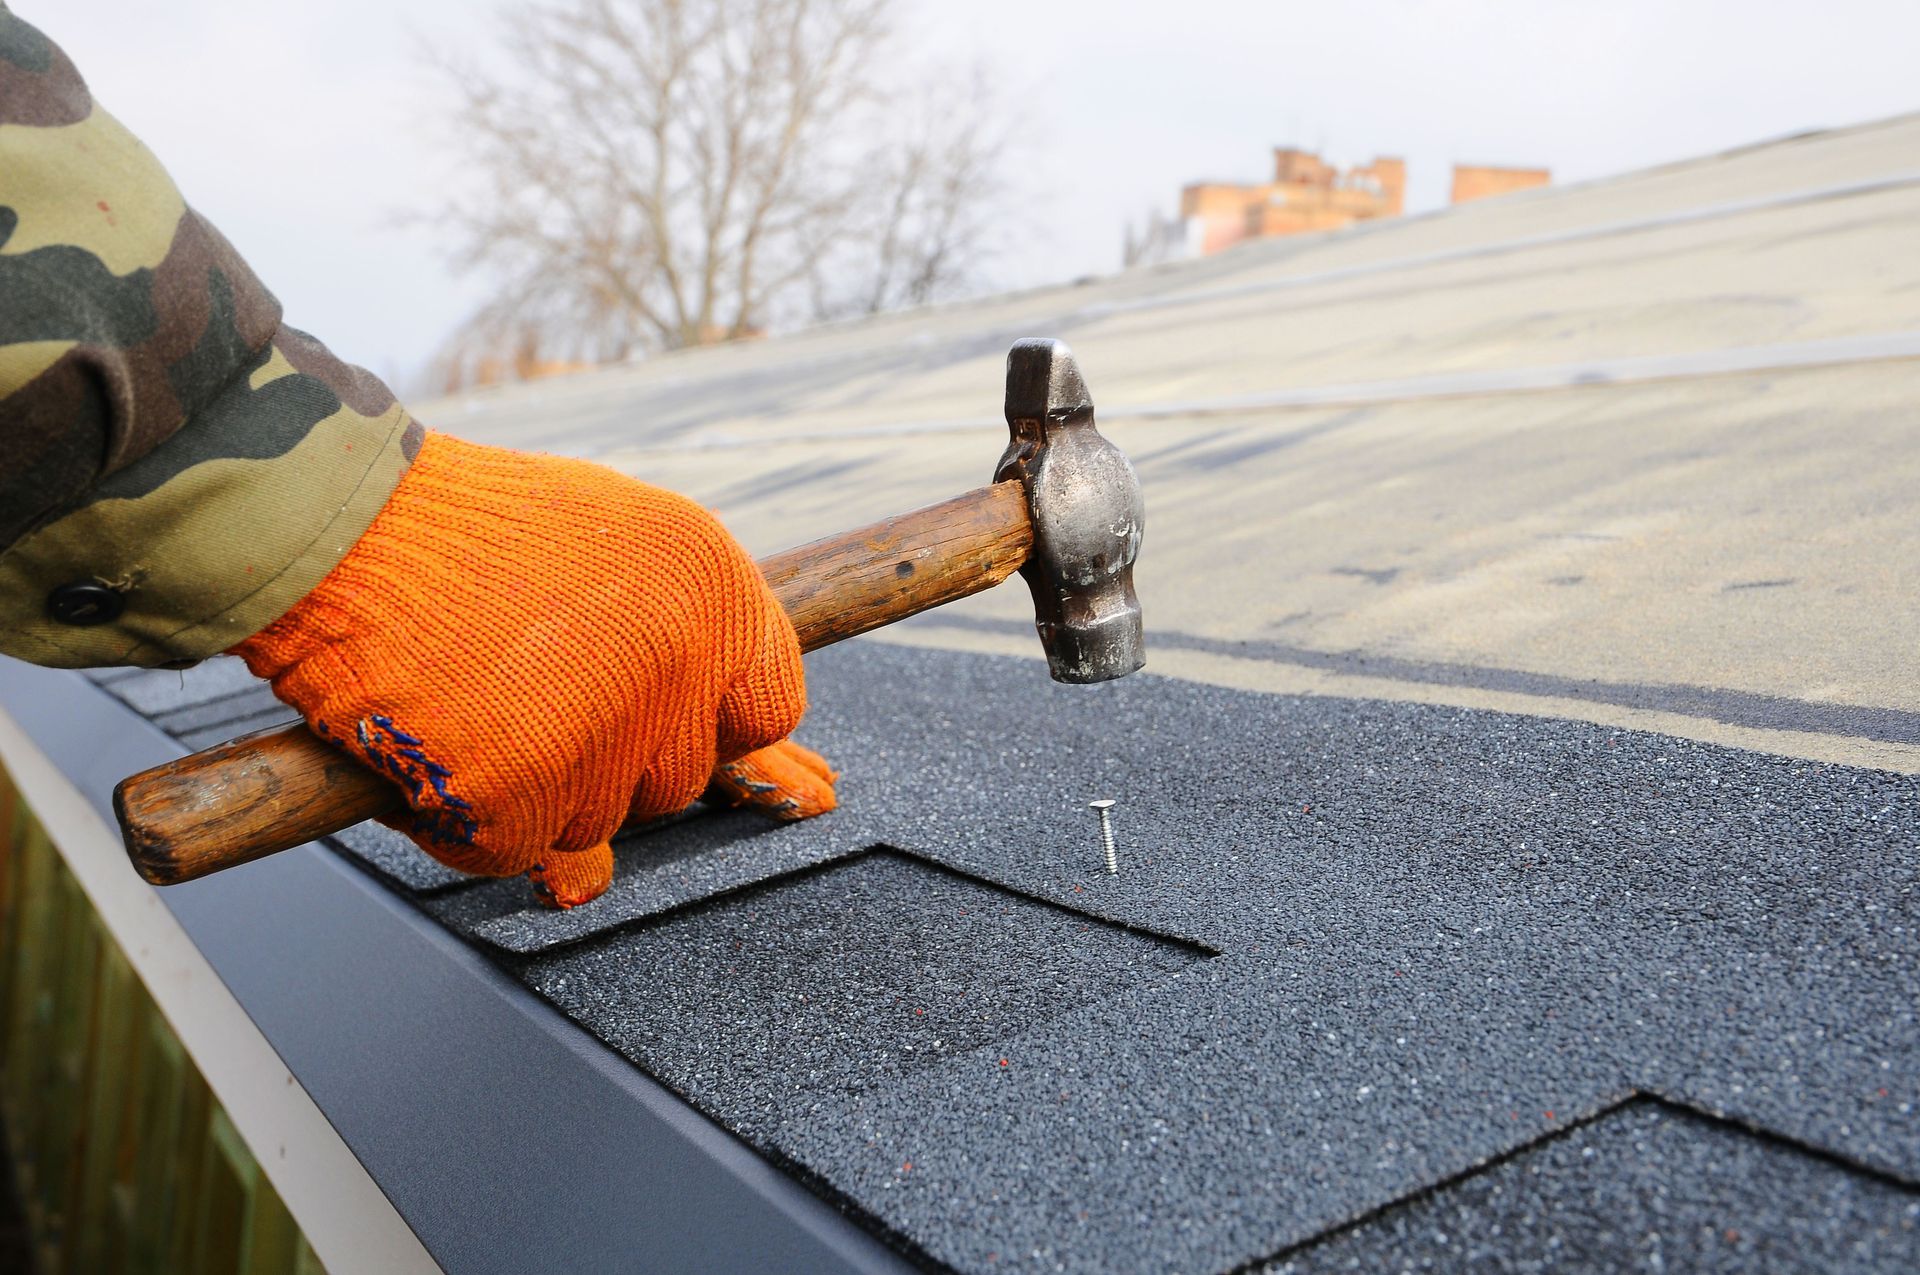
Proper mechanical fastening and precise horizontal overlaps are crucial for ensuring the secondary underlayment functions as a cohesive drainage shield. Technicians overlap consecutive courses from bottom to top, fastening the sheets with plastic-capped ring-shank nails to prevent accidental blow-offs or edge tearing during heavy gusts. Furthermore, installation teams ensure every step complies with regional residential building codes, structural fire classifications, and strict manufacturer specifications. Meticulous underlayment placement creates a secondary waterproof shield beneath the exterior tiles, protecting internal attic framing from sudden storm bursts even if wind-driven rain penetrates the outer decorative shell.
Conducting Strict Quality Control Checks
With the primary shingles and flashing secured, the project manager initiates a rigorous multi-point quality control inspection across the roof plane. The lead inspector walks every valley, ridge line, and elevation transition, checking for loose fasteners, misaligned courses, exposed underlayment, or unsealed flashing joints that could compromise the build. Special attention is directed to the attic ventilation system, ensuring balanced intake through continuous soffit vents and unobstructed exhaust along high-profile ridge caps. Balanced airflow prevents attic heat buildup and reduces winter ice-dam formations, safeguarding the structural decking against interior thermal damage and maximizing long-term energy savings for the residence.
Following the physical assessment, the contractor reviews and formalizes all relevant manufacturer warranties, code compliance records, and local municipal inspection permits. Verifying that the roofing installation strictly mirrors the manufacturer’s technical guidelines guarantees that the homeowner's material warranties and workmanship guarantees remain fully valid. The supervisor also conducts physical water diversion and joint-sealing assessments to confirm that every valley and skylight flashing junction forms an impenetrable, watertight shield. Documenting this rigorous process assures the homeowner that their new exterior surface meets industry performance standards and will perform reliably through severe weather conditions.
Finalizing Cleanup and Long-Term Protection
The closing phase of an exceptional exterior project focuses entirely on leaving the property spotless and educating the resident on long-term roof preservation. Mobilized crews perform an exhaustive sweep of the yard, clearing away plastic wrappers, discarded packaging, shingle fragments, and scrap timber. Technicians slowly walk rolling magnetic sweepers across lawn areas, driveways, and surrounding garden borders to collect stray construction nails and metal staples, ensuring that no sharp hazards are left behind. Leaving the surrounding landscape spotless reflects a contractor's professional dedication, allowing homeowners to enjoy their newly upgraded exterior immediately without having to complete tedious post-construction maintenance themselves.
Once the premises are clean, the project manager conducts a detailed final walkthrough with the property owner to review the completed craftsmanship. The specialist highlights key architectural features, explains how the specialized ventilation system regulates temperature, and outlines a practical future maintenance schedule, including bi-annual gutter clear-outs and routine seasonal inspections. The homeowner also receives an organized informational packet containing material warranty certificates, municipal permit documentation, and clear instructions for filing future service inquiries. When you are ready to invest in a superior roofing installation that delivers lasting protection and exceptional curb appeal, contact Elite Worx to schedule your professional roofing installation consultation today.